Concrete Slab Preparation: Why It's the Most Important Part of Any Pour
At Concrete Concepts Group, we often say that 80% of a great concrete job happens before the concrete truck arrives. Preparation is everything. A perfectly poured slab on poorly prepared ground will crack, sink, and fail. A well-prepared base with average finishing will last decades.
Here's what goes into proper slab preparation — and why cutting corners here always costs more in the long run.
Step 1: Site Assessment
Before we dig, we need to understand what we're working with:
- Soil type — Brisbane's reactive clay soils expand and contract with moisture changes. This affects how deep we need to dig and what sub-base is required.
- Drainage — Where does water flow? We need to ensure water drains away from the slab, not under it.
- Services — Underground water, sewer, gas, and electrical lines must be located and protected.
- Access — Can the concrete truck get to the pour site? Do we need a concrete pump?
Step 2: Excavation
We excavate to the required depth, typically:
- House slabs: 300-400mm below finished level
- Shed slabs: 200-300mm below finished level
- Driveways: 250-350mm below finished level
The excavated area must be level and compacted. We use a plate compactor to achieve the required density — typically 95% Standard Proctor Density for residential work.
Step 3: Sub-Base
A proper sub-base is critical for Brisbane's clay soils:
- Road base (crushed rock) is spread to a minimum depth of 100mm
- The road base is compacted in layers to create a stable, level platform
- A vapour barrier (plastic membrane) is laid over the road base to prevent moisture rising through the slab
Step 4: Formwork
Formwork creates the shape of your slab. We use:
- Timber formwork for straight edges
- Flexible formwork for curves
- Steel pins to hold the formwork at the correct height
Every edge is checked with a laser level to ensure the slab will be perfectly flat (or have the correct fall for drainage).
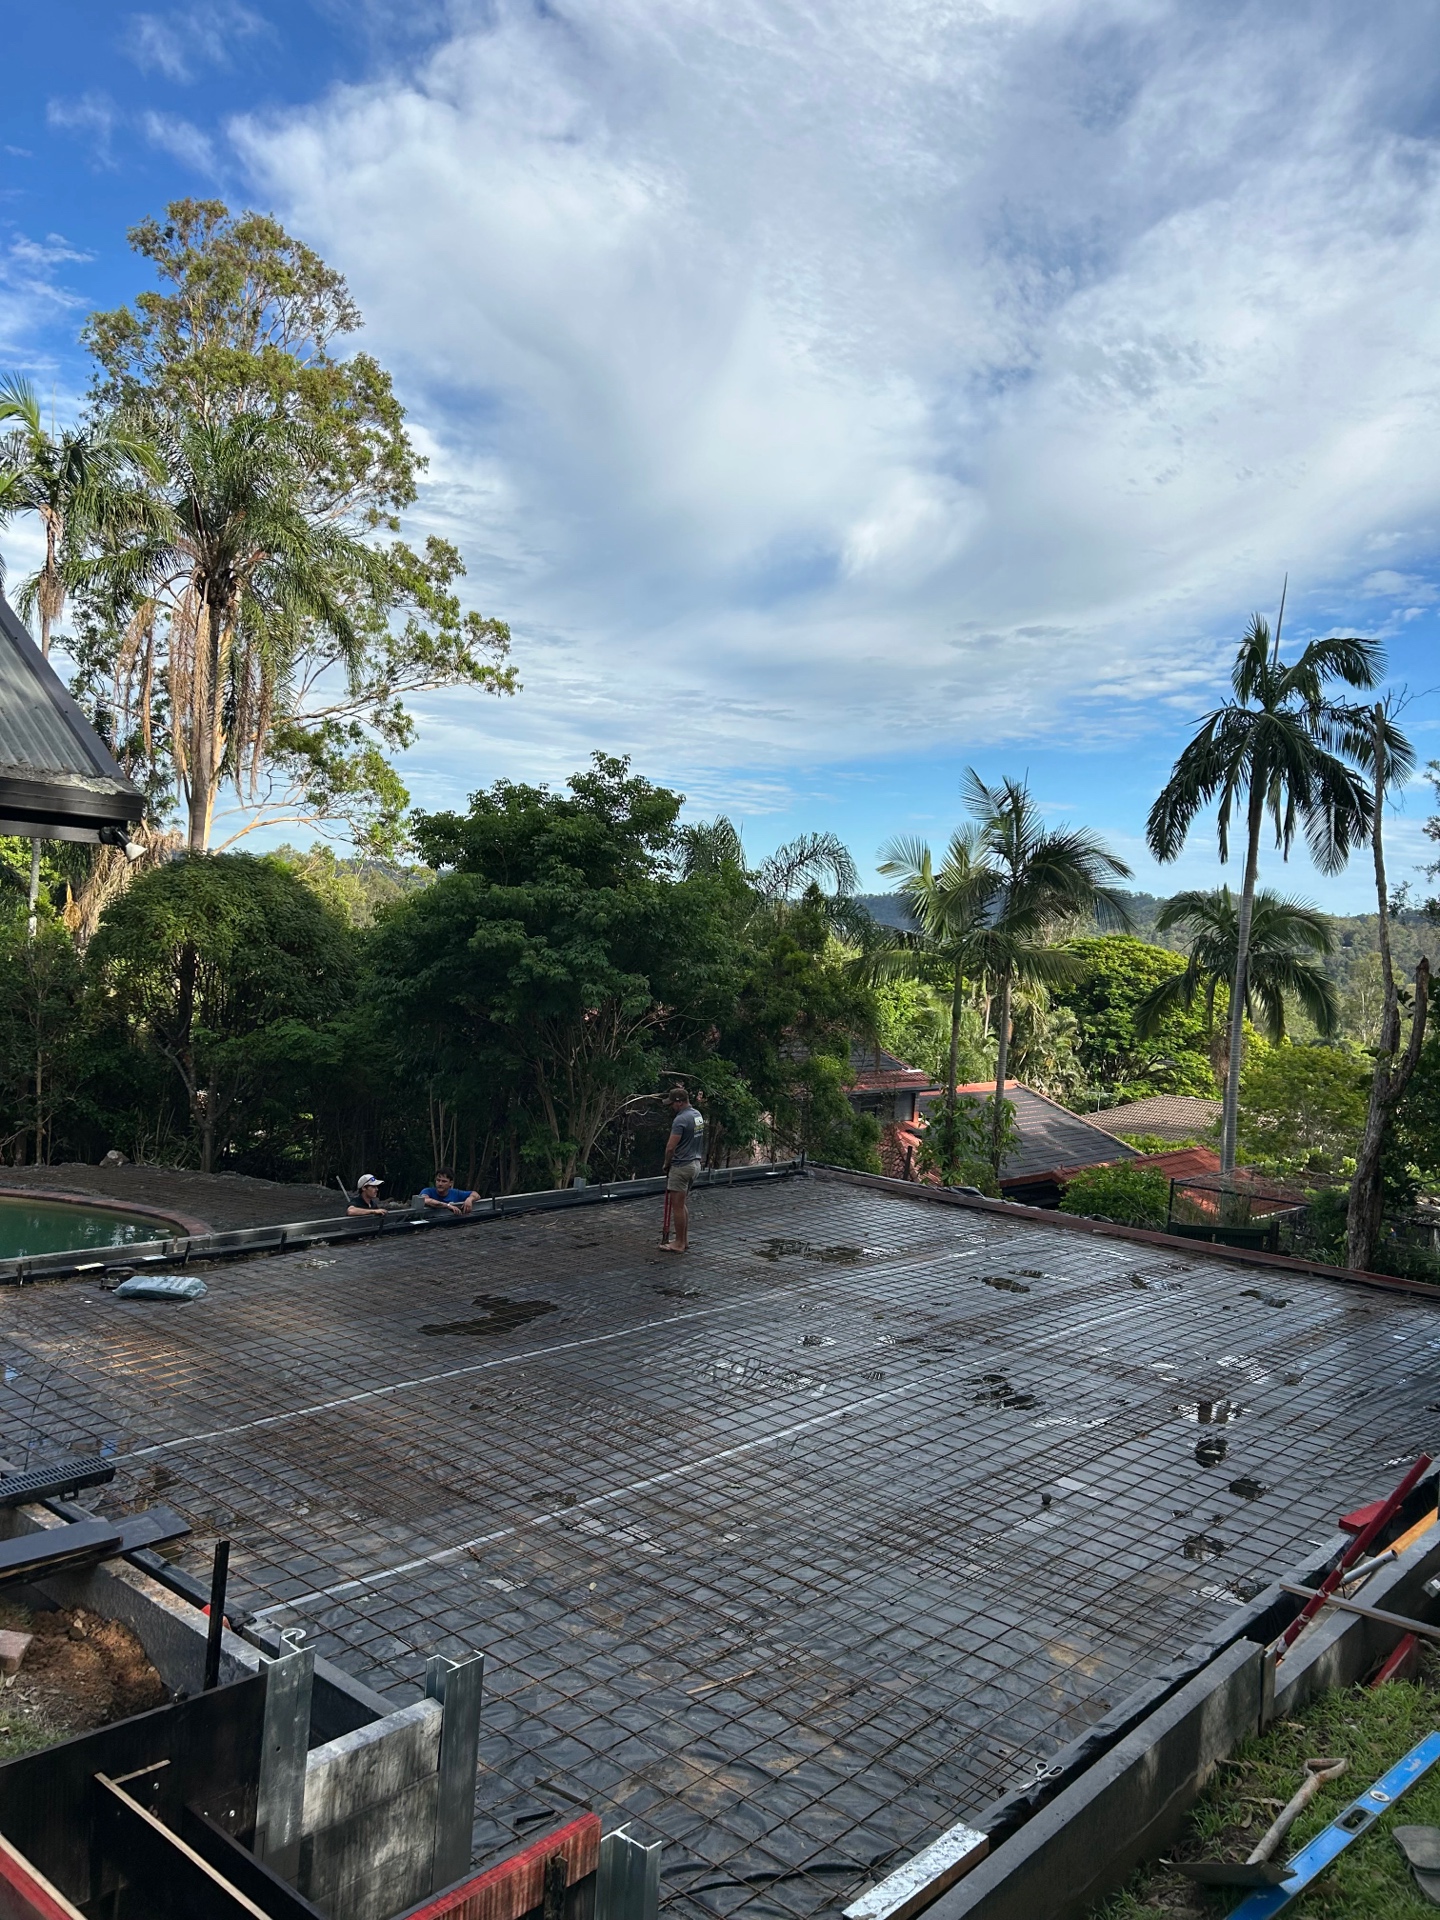
Step 5: Reinforcement
Steel reinforcement prevents cracking and holds the slab together:
- SL82 mesh is standard for residential slabs (8mm bars at 200mm centres)
- SL92 mesh for driveways and heavier loads
- Trench mesh in edge beams and footings
- Bar chairs lift the mesh to the correct position within the slab
The mesh must be at the right height — too low and it does nothing, too high and it can rust.
Step 6: Final Check
Before we call the concrete truck, we do a final check:
- All formwork is level and secure
- Mesh is at the correct height on bar chairs
- Vapour barrier is intact with no tears
- Any penetrations (plumbing, electrical) are in place
- The site is clean and ready
Why This Matters
We've seen countless jobs where another concreter has skipped steps — no road base, mesh sitting on the ground, no vapour barrier. The result is always the same: cracking within 12 months, sinking corners, and moisture problems.
Proper preparation costs a little more upfront but saves thousands in repairs. Every slab we pour at Concrete Concepts Group follows these steps — no shortcuts, no exceptions.
Ready to discuss your project? Get a free quote or call Jarrod on 0424 698 986.
Concrete Concepts Group
QBCC Licensed (#15299707) concreting professionals serving Brisbane and South East Queensland. Over 100 projects completed with a 5-star reputation.